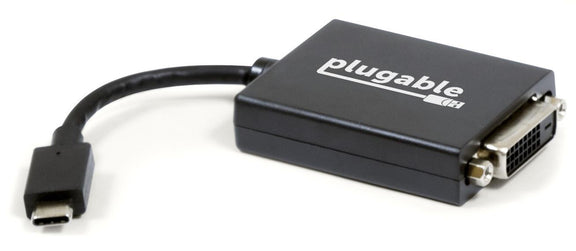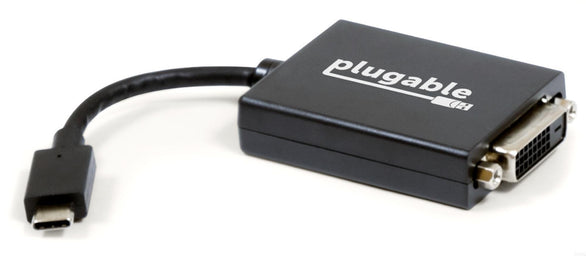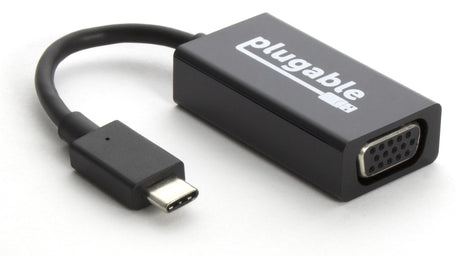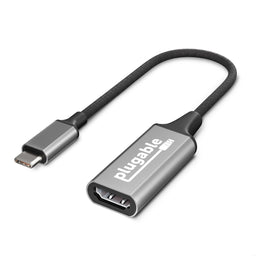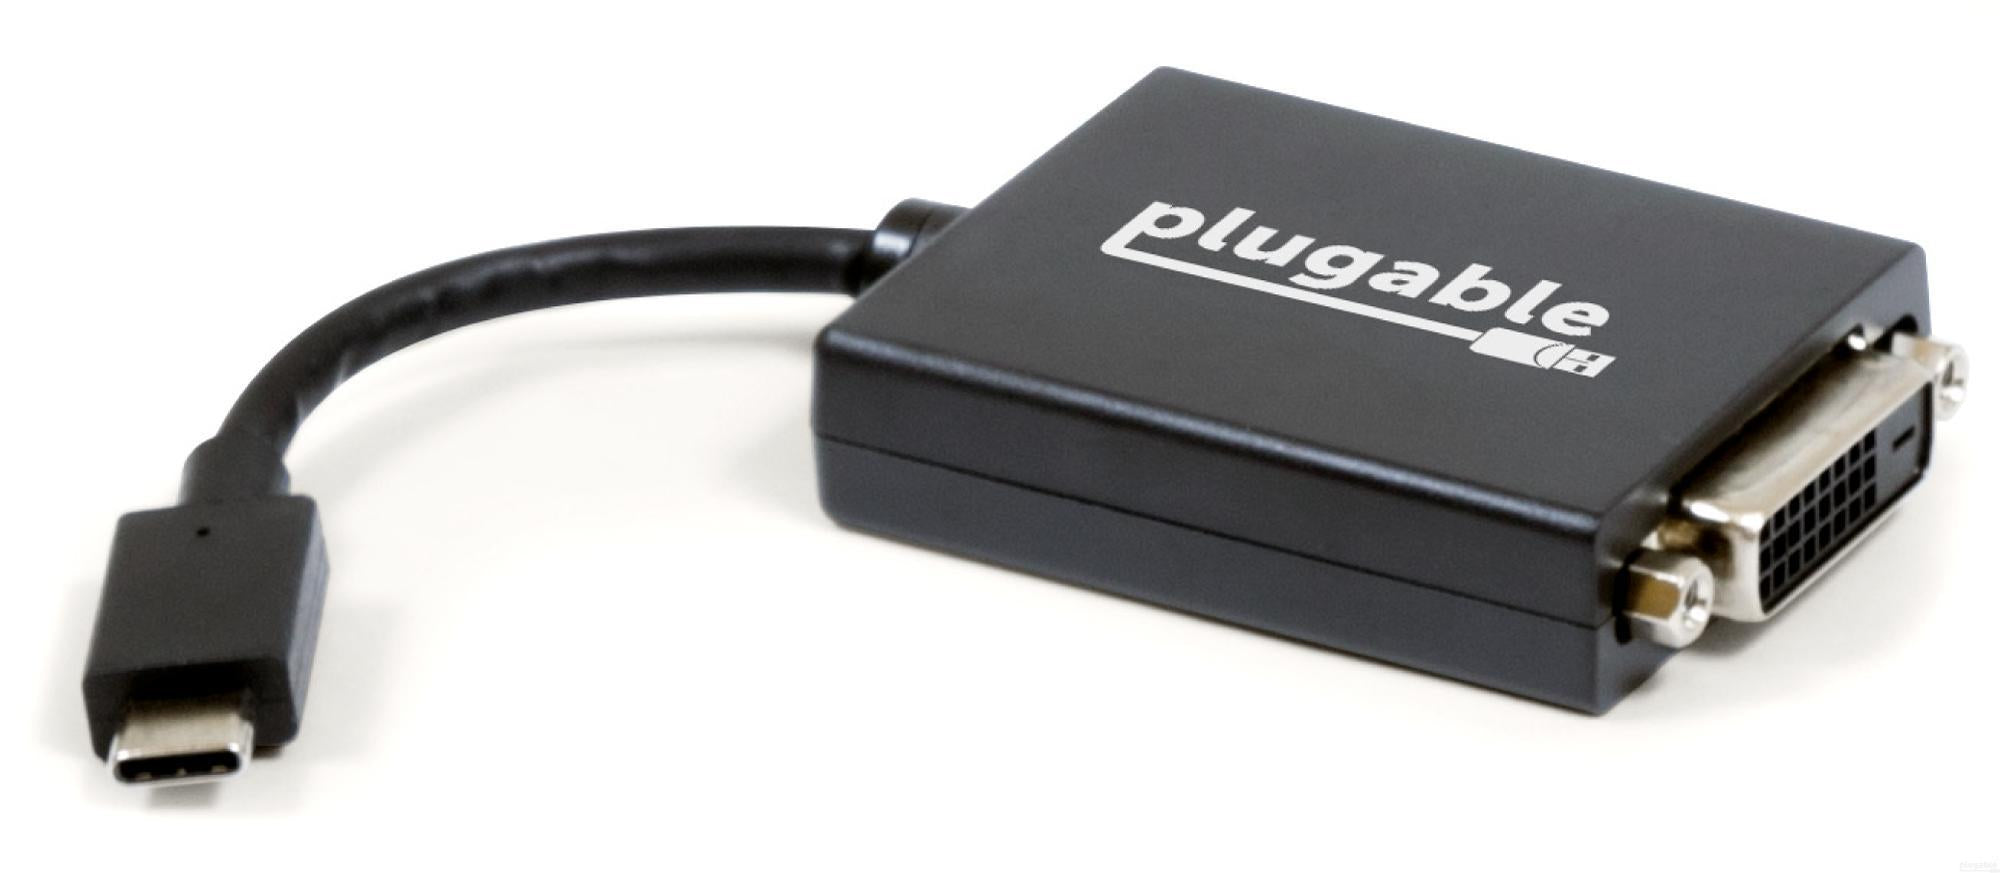
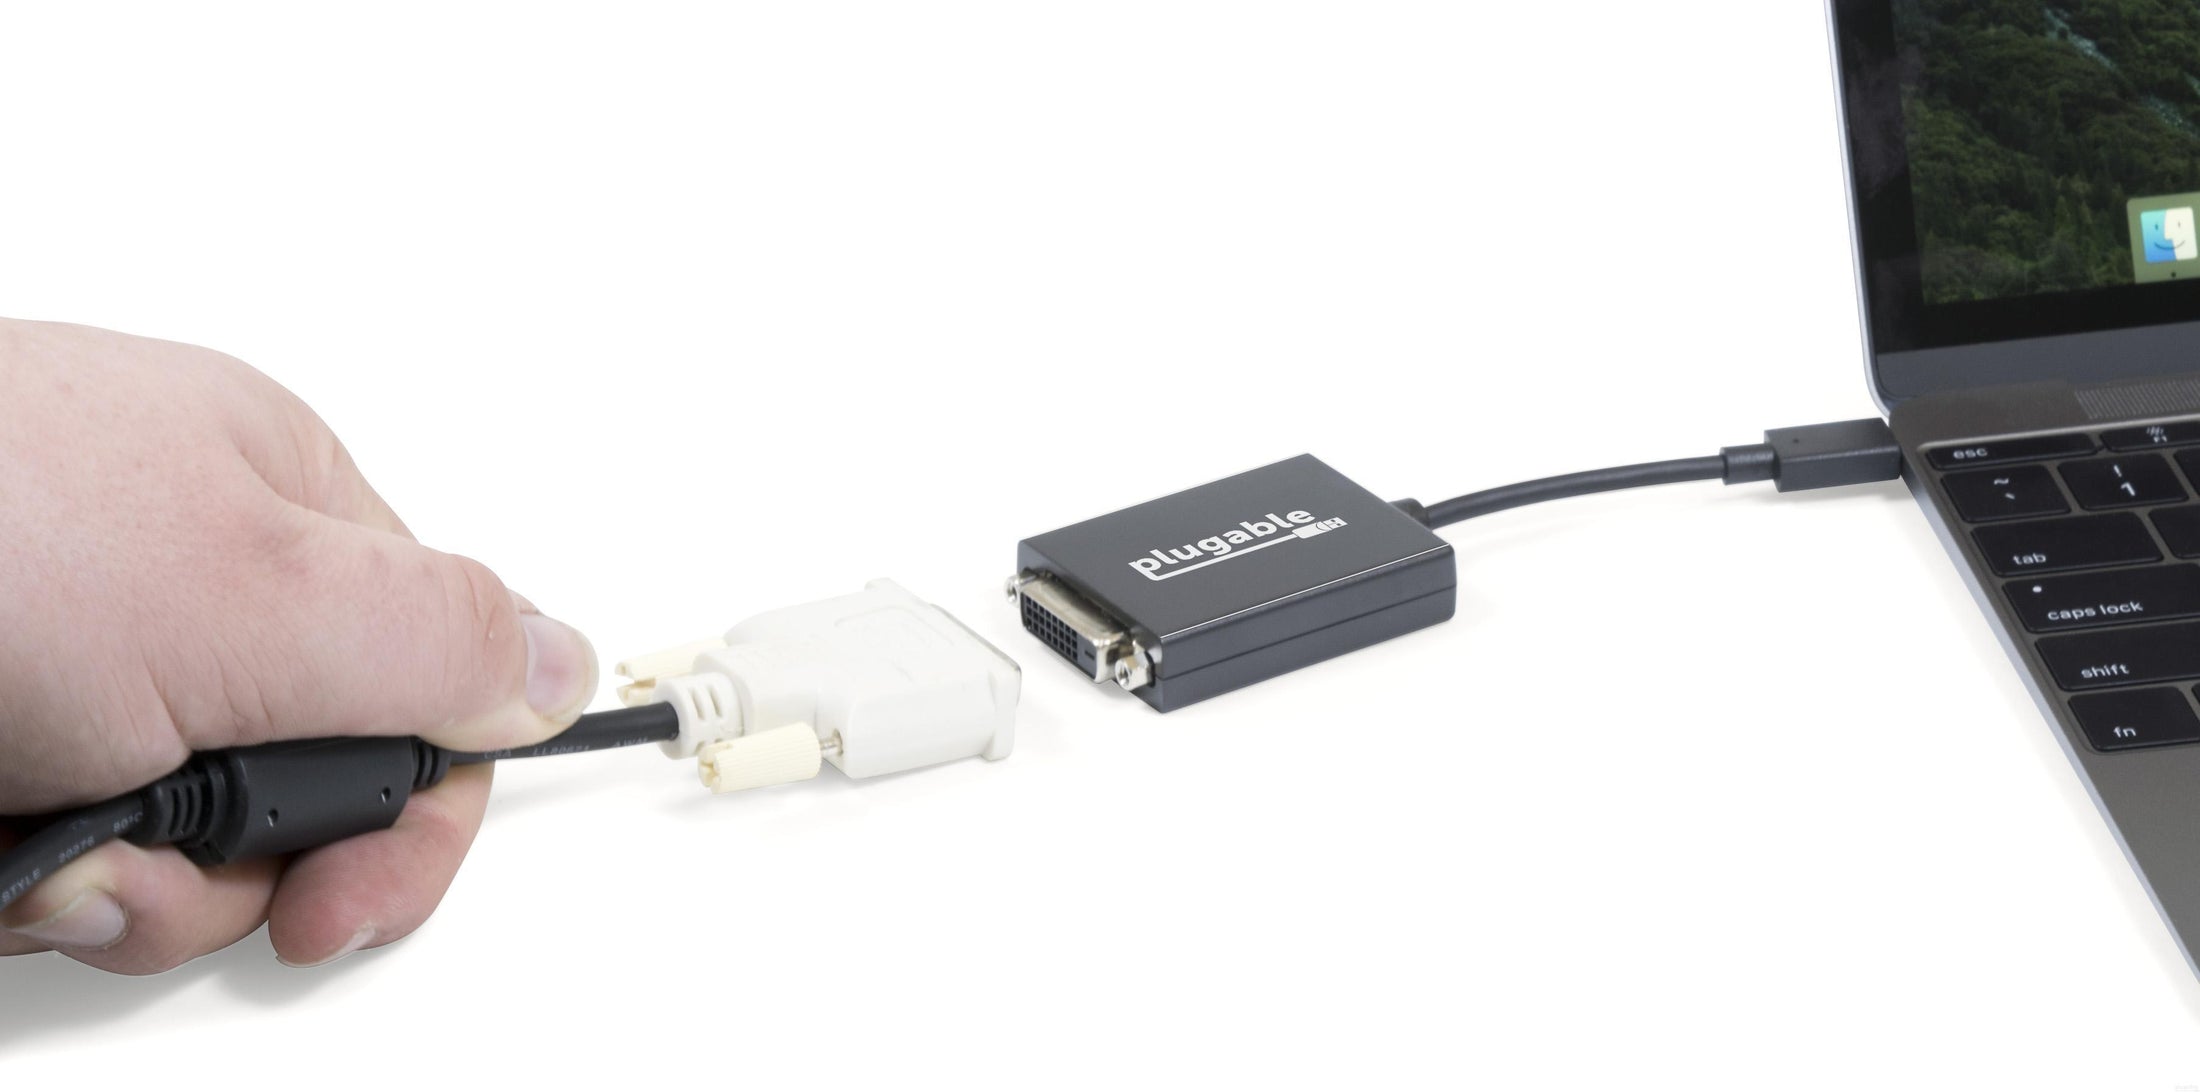
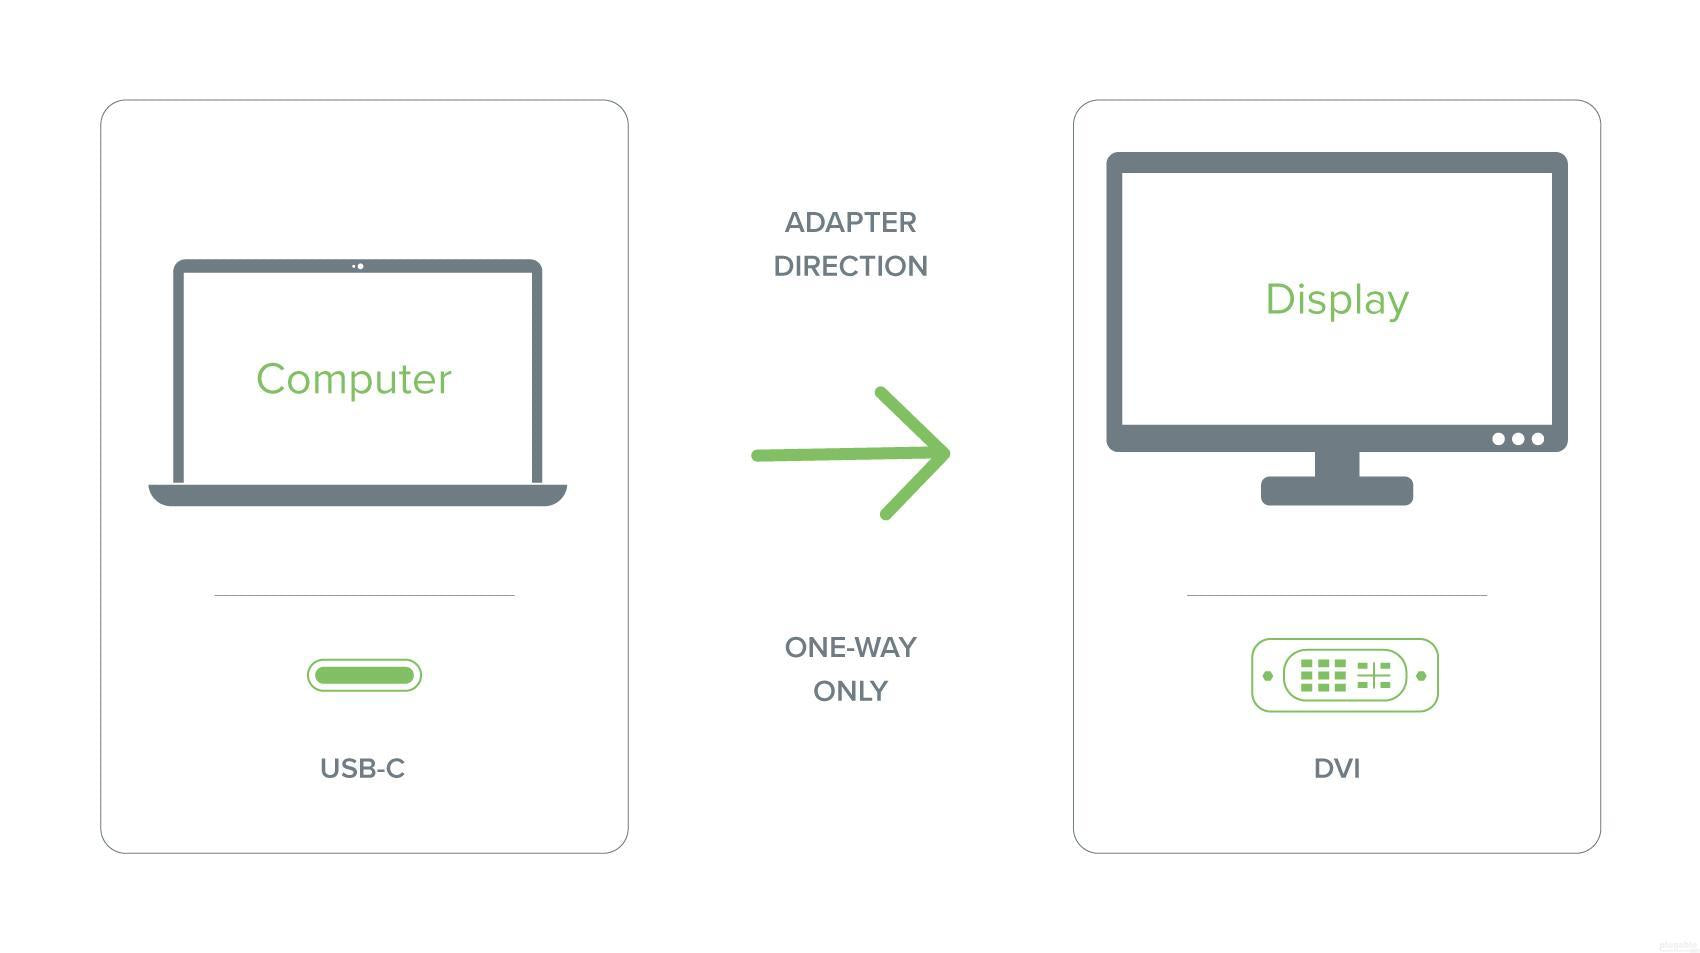
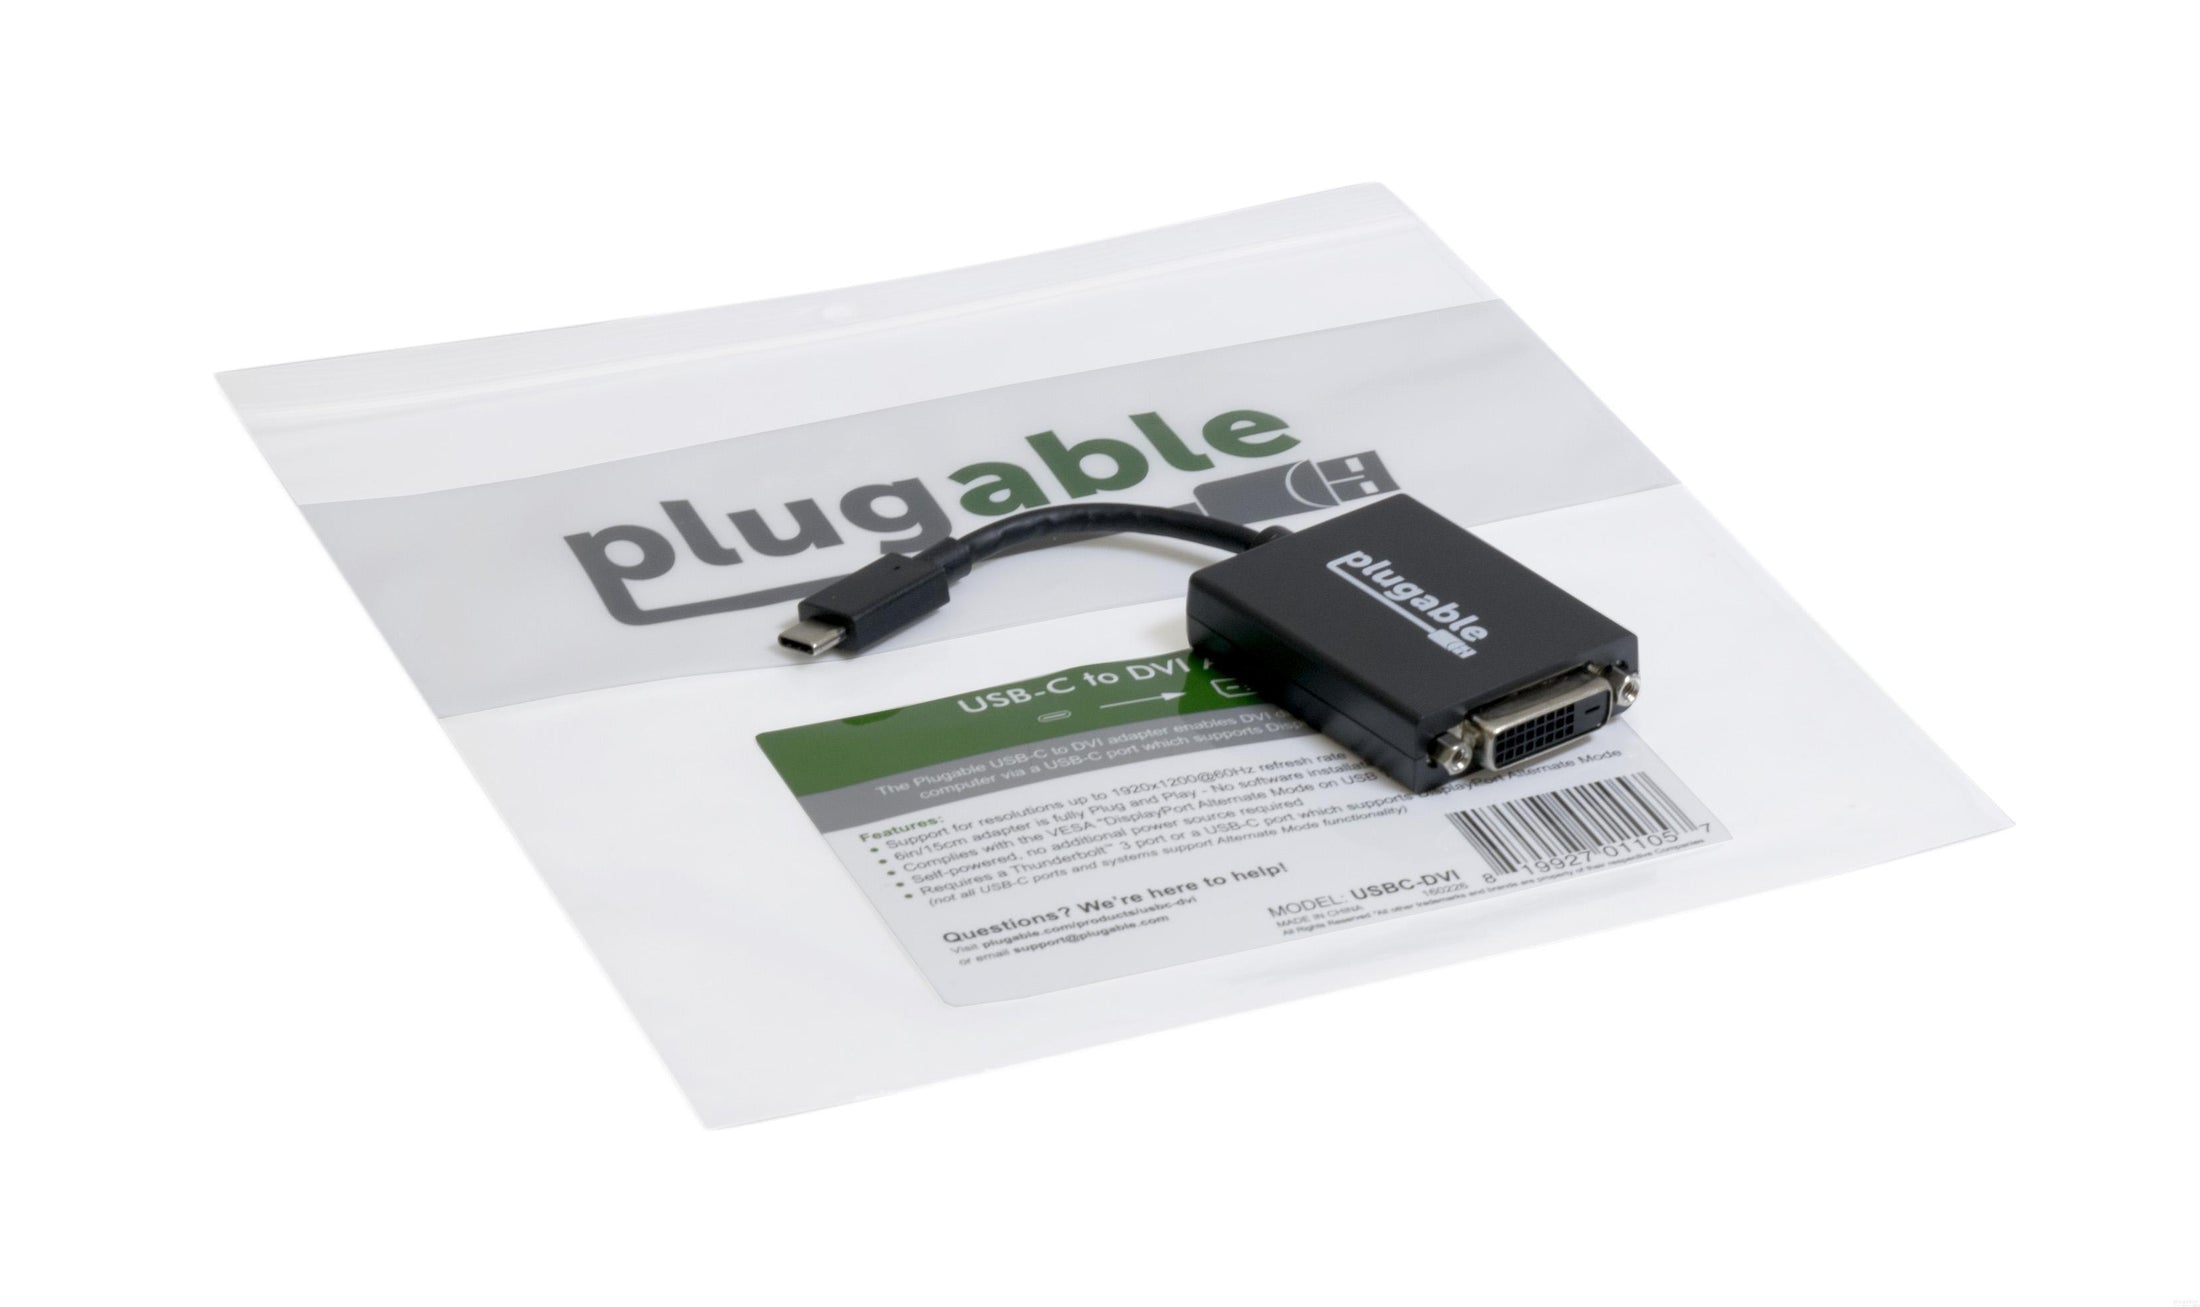
USB-C to DVI—Utilizes the native video capabilities of USB-C ports on supported computers to drive a DVI monitor with resolutions up to 1920x1200 @ 60Hz
Operating Systems—Supported on Windows, macOS, Chrome OS, and Linux, as long as the computer has a USB-C port which supports video. Plug and Play; no software installation required
Important Note—USB-C systems from Apple require that DVI monitors support HDCP. Non-HDCP DVI monitors will not work in OS X, though are supported in BootCamp. Not compatible with Apple Cinema Displays
Compatibility—Works with 2018+ iPad Pro, modern Mac computers, Dell XPS, Microsoft Surface Book 2, HP Spectre x360 systems with Thunderbolt 3 ports, and other systems which support DisplayPort Alternate Mode over USB-C
2-Year Coverage, Lifetime Support—Every Plugable product, including this USB C to DVI adapter, is covered against defects for 2 years and comes with lifetime support. If you ever have questions, contact our North American-based team - even before purchase
The Plugable USB-C to DVI Adapter allows you connect a DVI display to your laptop, tablet, or desktop which supports USB 3.1 "Alternate Mode" (Alt Mode) video output functionality. Our adapter can support display resolutions up to 1920x1080@60Hz refresh rate.
Uncompromising Performance
Alt Mode adapters allow you to add an additional display output easily and inexpensively on supported systems. Since DisplayPort Alternate Mode is a direct pipeline to the host graphics processor (GPU) in your system, the connected display will function with the same uncompromising performance of a natively attached display.
Video and photo editing, gaming, and other resource-intensive tasks are possible assuming that the system's GPU capabilities are sufficient for the application being used.
Compatibility
Compatible Systems
Plug and Play on any Windows, Mac, or Linux host which supports DisplayPort Alternate Mode video output functionality.
Adapter has been fully tested for functionality on the 2017 iMac/iMac Pro, 2017 & 2018 MacBook/MacBook Pro, MacBook Retina 12" 2016 / 2017, Google Pixelbook, Chromebook Pixel 2015, Dell XPS 13 9350 / 9360 & XPS 15 9560 / 9570, Lenovo P50, and Samsung Galaxy S8 / S8+.
Apple Notes: To use a DVI display with MacBook systems, the display must support HDCP copy protection. Some older DVI displays do not support HDCP and will result in unusable behavior. This requirement is only enforced in OS X, as BootCamp Windows installations behave correctly with non-HDCP DVI displays.
Incompatible Systems
Most current phones and tablets with USB-C ports do not support Alt Mode video output.
ASMedia USB 3.1 controllers do not support Alt Mode video at this time.
Not compatible with Apple Cinema Displays and 2560x1440 monitors which require a dual-link DVI connection
Filter Help Articles and Frequent Questions by Category
Choose one or more filters within each category to narrow down the articles. Each selection will result in only displaying articles that include all of your choices.
Selected filters:
Articles
Well how about that, it looks like we don't have any articles matching your filters! Try removing one of your choices or clear the filters to show all articles.
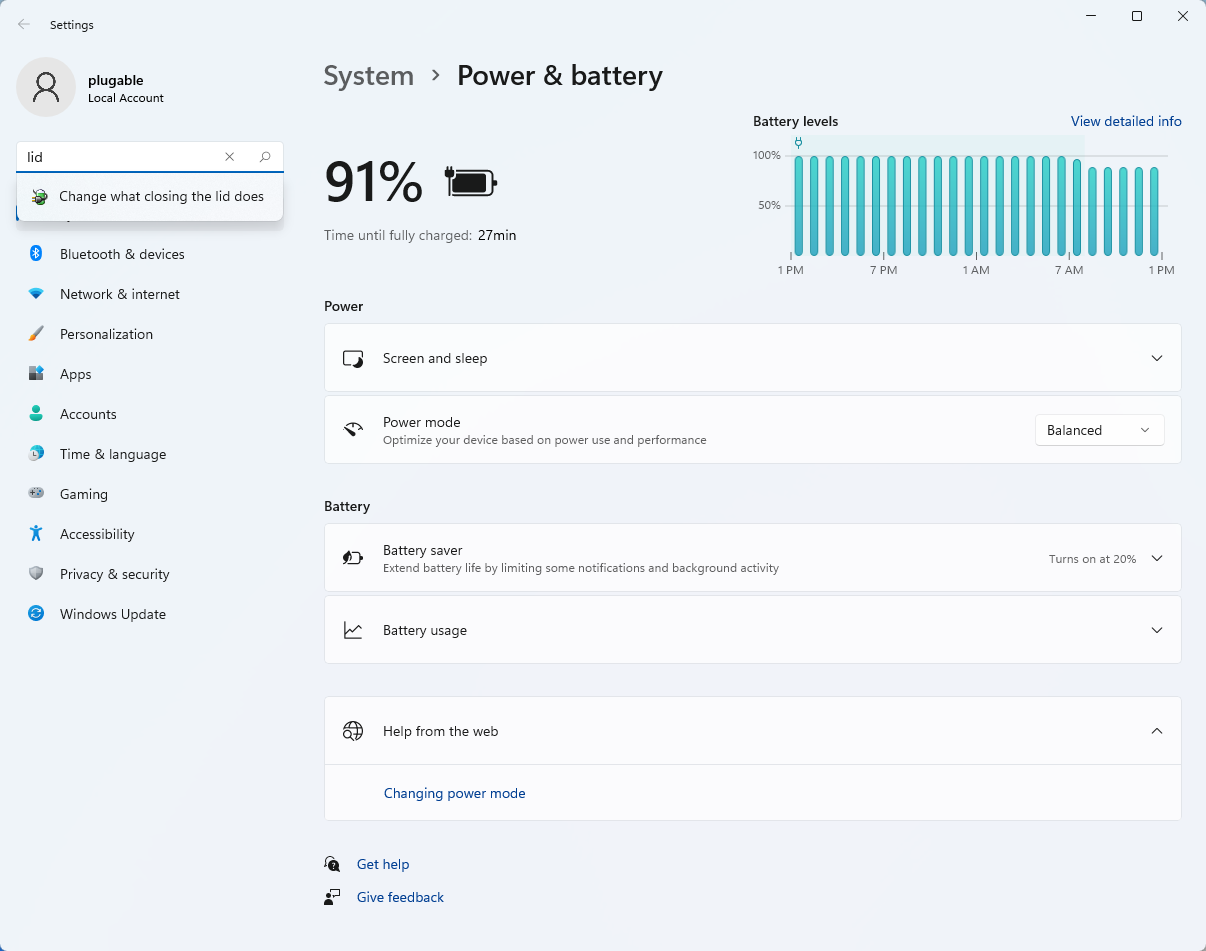
Most Windows notebook computers power management settings will default to putting the computer to sleep with the lid closed, regardless of any external displays, keyboard, or mouse connected to the computer. If this is happening but you would prefer the system to remain active with the lid closed utilizing the external display or displays, these settings can be changed by performing the following:
For Windows 10:
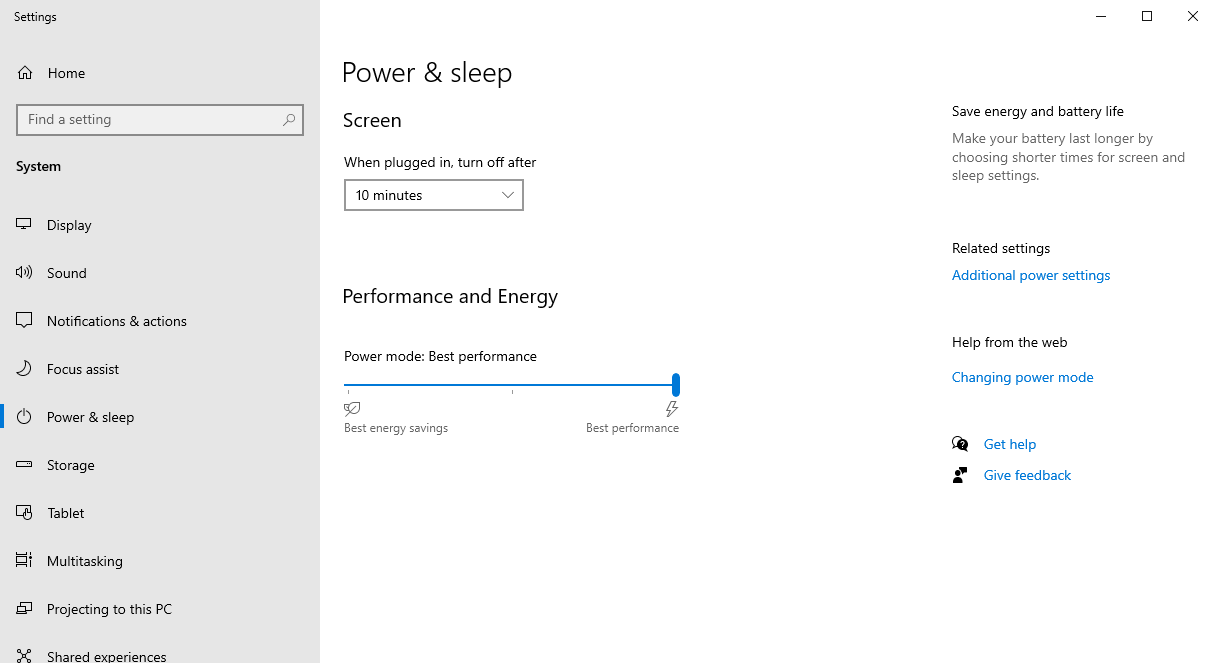
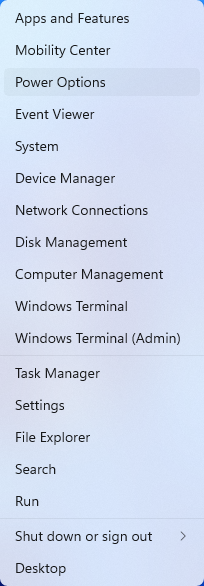
Start by right-clicking on the Start button and select Power Options from the menu.
From the right side of the Power Options settings page, select the blue link for Additional power settings
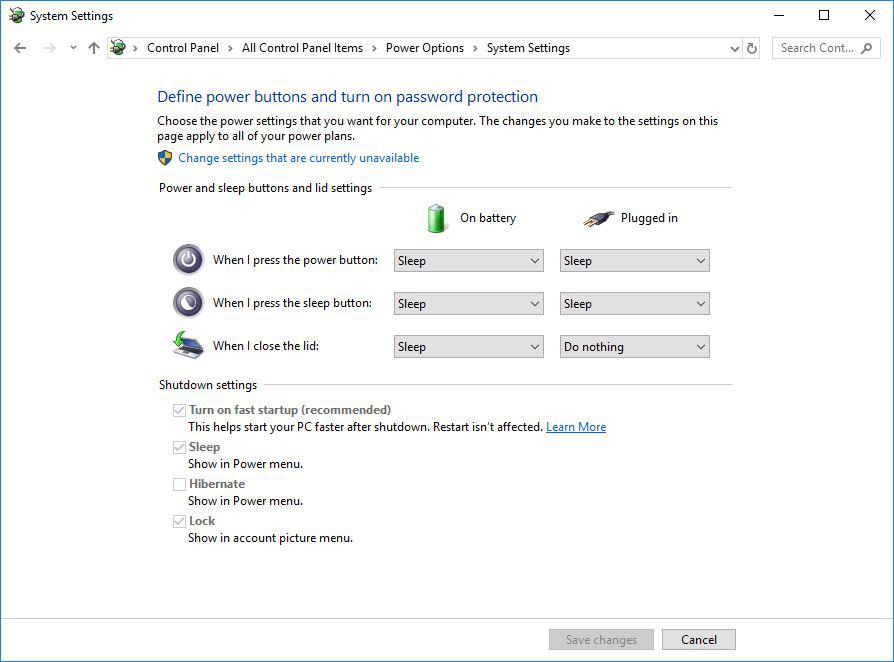
From the choices present on the left-hand side of the Power Options window, please click on Choose what closing the lid does
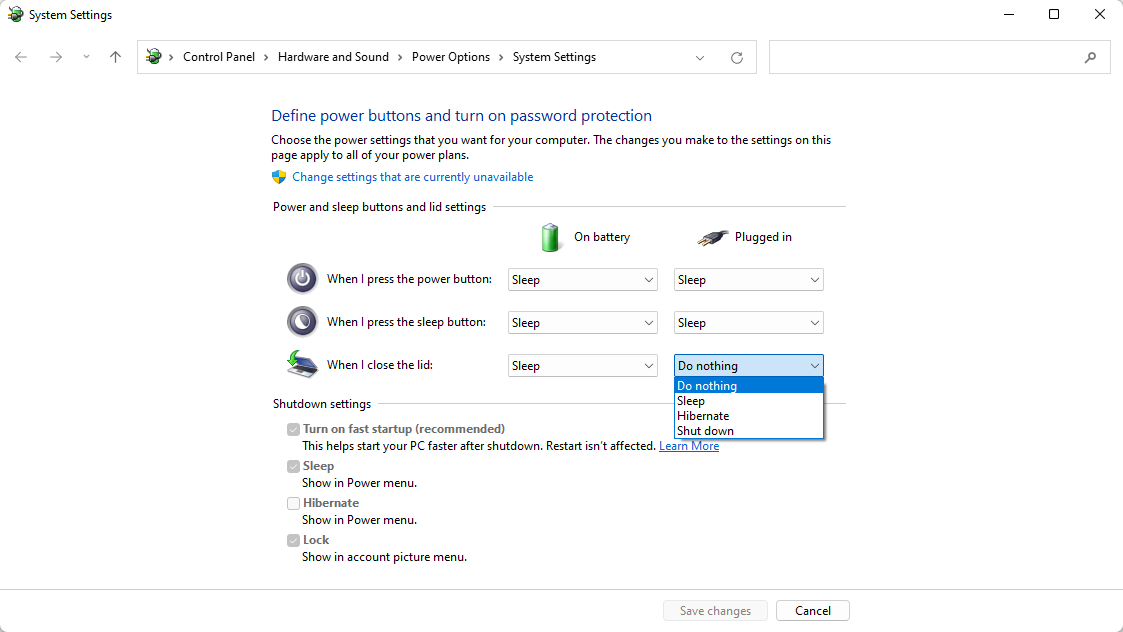
Make sure the setting for When I close the lid under the Plugged In column is set to Do Nothing
Click the Save Changes button and restart the system (making sure that the laptop’s power adapter is also connected) and test the behavior again.
For Windows 11:
Start by right-clicking on the Start button and select Power Options from the menu.
In the upper left corner of the settings window, in the search box, type "lid" then select Change what closing the lid does from the search results
Make sure the setting for When I close the lid under the Plugged In column is set to Do Nothing
Click the Save Changes button to apply the new settings.
Closing the lid should no longer put the computer into sleep mode when an external display and power source is connected, instead one of the external displays should now become the Primary display with the desktop icons instead of the laptop's built-in display.
The lid may still need to be opened to perform the following tasks:
To power on the computer from a fully powered off state
To log into the computer if logged out or if the computer is restarted with the lid closed
To wake the computer from a deep sleep state ( hibernation, or Windows hybrid sleep states )
If your system supports multiple Thunderbolt 3 or USB-C Alt Mode outputs, then you will be able to use multiple adapters on one system. However, there are some Thunderbolt 3/USB-C Alt Mode systems that limit the video output to one port.
Most modern MacBooks with USB-C, USB4, or Thunderbolt 3/4 ports support Alt Mode-based video adapters, making them compatible with Plugable Alt Mode video adapters. This includes:
MacBook Pro (2016 and later)
MacBook Air (2018 and later)
Mac Mini (2018 and later)
iMac (2017 and later)
Mac Studio
Important Note:
M1, M2, M3, and newer MacBooks support only one external display via Alt Mode (with exceptions for the MacBook Pro 14-inch and 16-inch with M1 Pro/Max, M2 Pro/Max, M3 Pro/Max). If you need multiple external displays for a Mac with a base M1, M2, or M3 chip, consider Plugable’s USB Graphics Adapters instead.
Many modern displays can support above the default 60Hz refresh rate, however this may need to be manually set within Windows 11. Please note, not all computers, graphics adapters, and docking stations can support all resolutions and refresh rates.
Setting the Display Refresh Rate in Windows 11
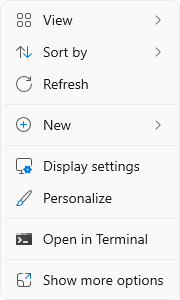
1. Right-click on the desktop and select Display Settings from the drop-down menu
2. Scroll down to the Related settings subsection and select Advanced display
3. At the top of the Advanced display window, select the external display from the drop-down menu
4. From the Choose a refresh rate drop-down menu select the desired refresh rate
Refresh Rate Limitations
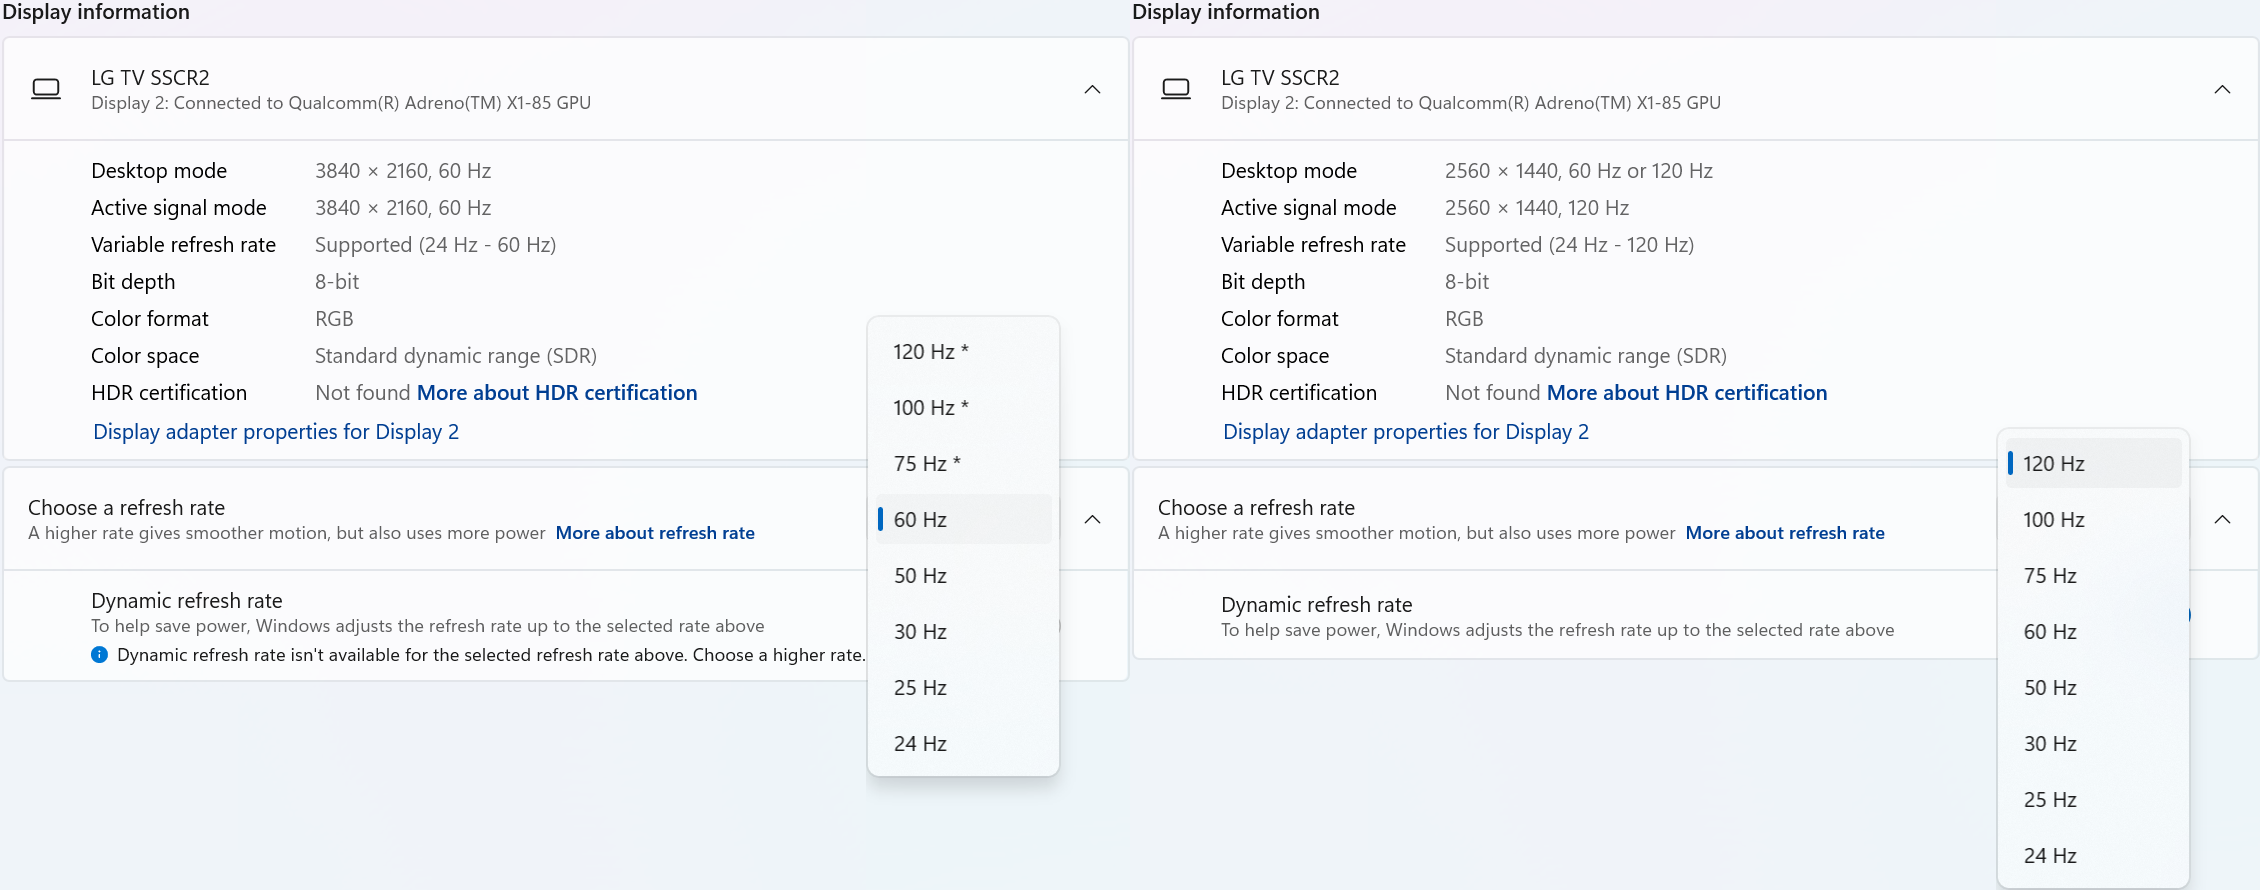
With Windows 24H2 and newer, dynamic refresh rates are supported, this allows the system to adjust the display refresh rate to save power, up to the selected refresh rate. As a consequence of this new mode, when selecting the display refresh rate you may see an asterisk. This indicates that selecting the specific refresh rate may reduce the display resolution or image quality in order to prioritize the refresh rate. This exposes the refresh rate option from the display even if the display cable or computer is incapable of supporting that refresh rate at the native resolution and is the intended behavior per Microsoft. [1]
In the screenshot below the left side shows the 4K 120Hz capable display limited to 60Hz refresh rate without asterisks, and on the right the same display after setting the refresh rate to “120 Hz*”, the “Desktop mode” resolution has been reduced to 2560 x 1440 (1440p) instead of 3840 x 2160 (4K UHD). Unlike when using the display scaling option this also causes a reduction in image quality. On the right side asterisks are no longer shown in the refresh rate list. Setting the refresh rate back to 60Hz does not change the resolution, you will have to go back one page and set the resolution manually.
References
[1] Windows Insider description of new behavior (https://blogs.windows.com/windows-insider/2023/08/31/announcing-windows-11-insider-preview-build-25941-canary-channel/)
Understanding your laptop's video output capabilities is essential when connecting to external displays. This guide will help you identify what video technologies your laptop supports and how to find the relevant information.
Common Video Output Technologies
Modern laptops commonly use one or more of the following technologies to transmit video to external monitors:
1. Thunderbolt 3
Supports video output using the DisplayPort protocol.
Capable of driving up to two 4K displays at 60Hz or one 5K display at 60Hz.
Uses a USB-C connector and features a lightning bolt symbol next to the port.
Note: An example of Thunderbolt 3 ports
2. Thunderbolt 4
Provides improved performance over Thunderbolt 3.
Supports up to two 4K displays at 60Hz or one 8K display.
Uses a USB-C connector with the same lightning bolt symbol but may also include the number "4" for identification.
Note: Thunderbolt 4 has the same physical connection and “lightning” bolt icon as Thunderbolt 3
3. USB-C DisplayPort "Alt Mode"
Allows video output directly through the USB-C port using DisplayPort technology.
Commonly supports one 4K display at 60Hz, but capabilities may vary.
Often marked with a DisplayPort ("DP") symbol, but this feature may also be specified in your system's documentation.
Note: An example of a USB-C port with DisplayPort capabilities
How to Identify Your Laptop's Video Capabilities
To determine what video technologies your laptop supports, follow these steps:
1. Check Your Laptop's User Manual:
Locate your laptop's user manual (often available online from the manufacturer's support site).
Search for keywords like "Thunderbolt," "DisplayPort Alt Mode," or "video output capabilities."
2. Visit the Manufacturer's Website:
Go to the support page for your laptop model and find the technical specifications section.
Look for details on Thunderbolt or USB-C video capabilities.
3. Inspect Your Laptop's Ports:
Check for identifying symbols next to USB-C ports:
Thunderbolt 3/4 ports may have a lightning bolt symbol.
DisplayPort Alt Mode may be marked with a "DP" icon.
“What if I do not have the above technologies?”: USB 3.0 (Type-A) and Display Expansion
While USB 3.0 (Type-A) ports do not support native video output, they can still be used to extend to two or more displays using software-based solutions like DisplayLink or Silicon Motion's InstantView. These technologies enable video through USB-A ports by utilizing dedicated drivers and software.
If your laptop lacks Thunderbolt or USB-C video capabilities, DisplayLink or InstantView may be a viable alternative for expanding your display setup. A few other things to consider:
Not all USB-C ports support video output. Checking your laptop's documentation is crucial to confirm this capability.
Thunderbolt ports are backward compatible with USB-C DisplayPort Alt Mode but provide enhanced performance and flexibility.
If you have further questions about connecting your Plugable docking station or adapter to your laptop, please reach out to our support team for guidance.